 Creating a Projects Page
Creating a projects page is a convenient way to post your group research projects in one easily accessible location.
 Video example
First create a "Projects" Page by adding a new page in Panels. (see Creating Custom Pages for additional instructions).
 |
When your page is set up and named, click the "Edit content" link to the right of the title of your "Projects" panel page. |
 |
You will be taken to a page that shows the regions of your panel page. Click on the gear icon in the upper left corner of a region. The "Project" widget works best if placed in the Top or Bottom region of your panel page display settings due to its horizontal layout. |
 |
Select "Add content" from the dropdown menu. |
 |
This will take you to a page where you can add widgets and custom content. There are 3 widgets associated with Group Projects content.
Click the "Research Projects, All [group], Research Projects, Archived [group], or Research Projects, Current [group]" widget link - which is found under the left menu item called “Widgets, group menu-items”. This will insert the widget into the chosen panel-page region (top or bottom). |
 |
A new page will launch with a "Finish" button. Click the "Finish" button to insert the widget. Only one widget at a time may be added using this process. Click the "Save" button at the bottom of your panel regions page to set your changes.
|
 |
Initially the "Projects" page will read "no projects found". |
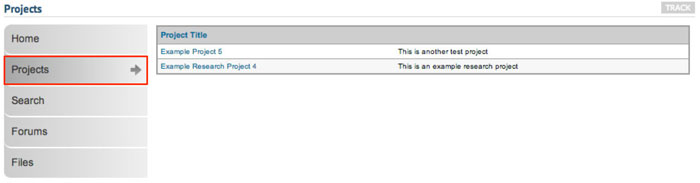 |
Linked project titles will display on the "Projects" page in a table as group members add projects (Further instructions to members about contributing projects can be found in this tutorial at Creating a Group Project). |
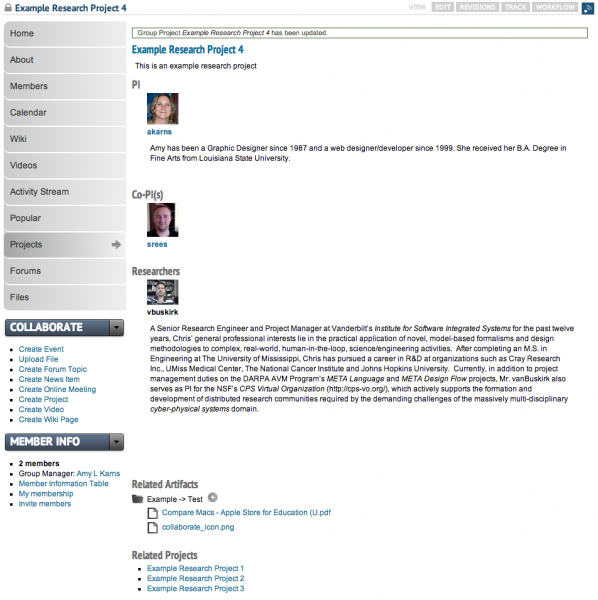
Clicking on the linked project title will lead to the individual project page (which will appear as below).